The Manage Validation Rules feature in XL-Connector allows users to download, review, create, update, and delete validation rules directly from Excel. This provides a flexible way to maintain data validation logic without leaving the spreadsheet environment.
Accessing Validation Rules
To download existing validation rules:
-
1
Open XL-Connector
-
2
Navigate to:
Power Tools → Manage Validation Rules → Download Rules


This will populate an Excel sheet with all current validation rules.
Important Guidelines
Field Behavior
errorDisplayField
-
You can specify a field name in the errorDisplayField column to control where the validation error is displayed.
-
If left empty, the error will default to “Top Of Page”.
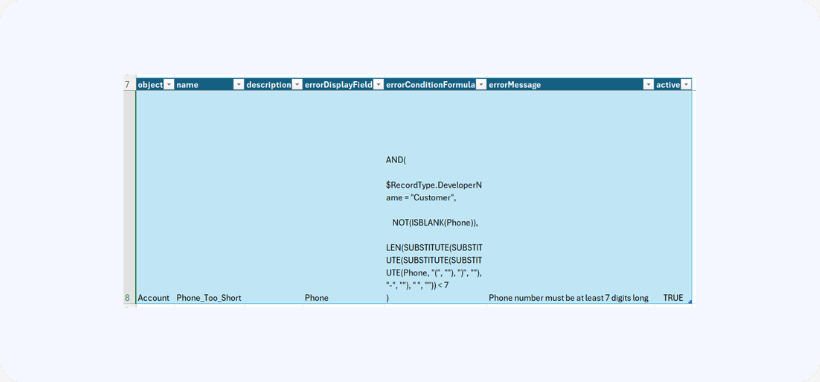
Creating Validation Rules
To create new validation rules:
-
Add new rows at the end of the table.
-
Fill in the required fields.
-
Ensure the formula column is NOT empty (this is mandatory for new rules).
-
Select the rows you added.
-
Click Update or Update Selected in the XL-Connector ribbon.
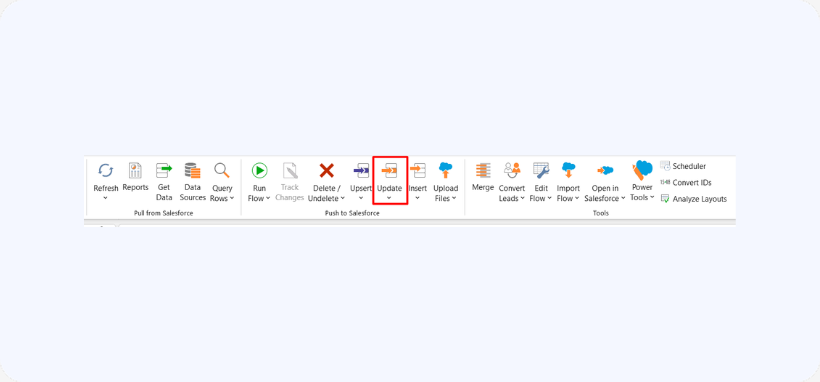
Updating Validation Rules
To update existing rules:
-
Modify the desired fields in the relevant rows.
-
Select the rows you updated.
-
Click Update or Update Selected in the XL-Connector ribbon.
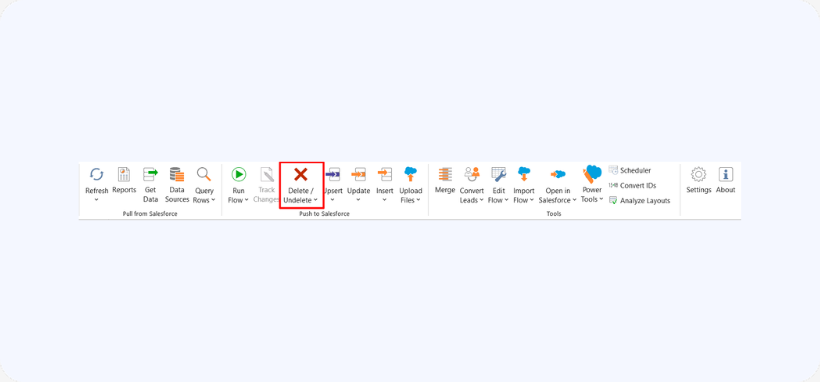
Deleting Validation Rules
To delete rules:
-
Select the rows corresponding to the rules you want to remove.
-
Click Delete in the XL-Connector ribbon.
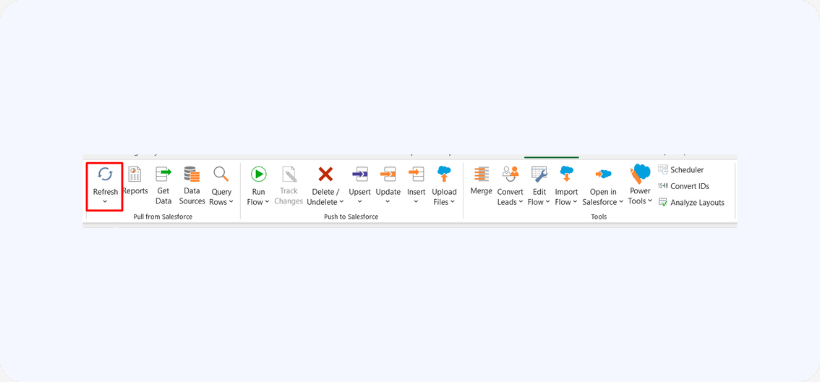
Refreshing Validation Rules
-
Use the Refresh button to reload all validation rules from the source.
-
This action will overwrite any unsaved changes in the sheet.