Follow these steps to import data from HubSpot objects and fields directly into Excel using XL-Connector 365:
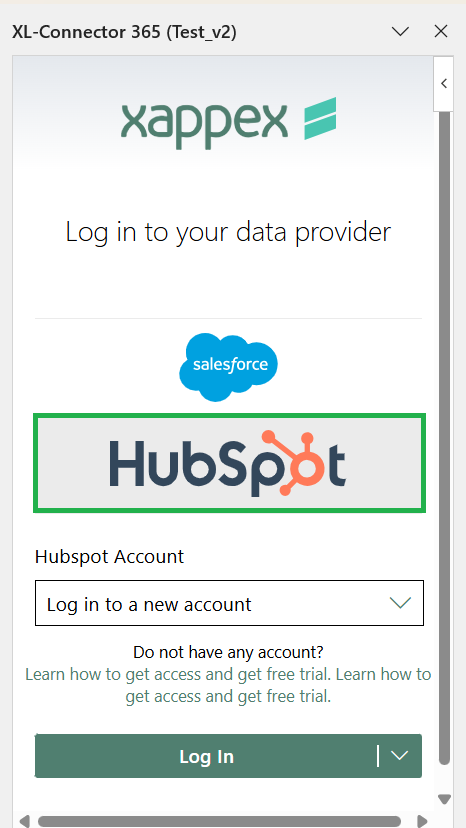
Firstly install XL-Connector 365 and from the list of available sources, select HubSpot. Log in to your HubSpot account.
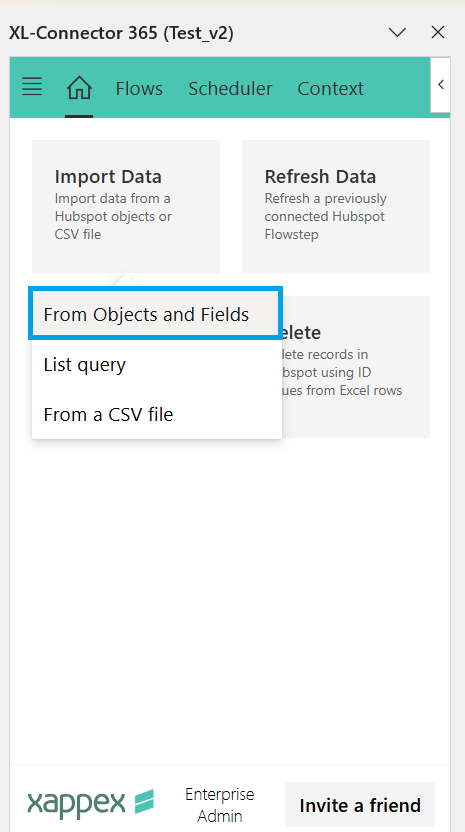
Import Data
Click the “Import Data” button in the XL-Connector sidebar. Choose the “From Objects & Fields” option to proceed with importing specific HubSpot data.
Pick the Object and Fields
- Select the HubSpot object (e.g., Contacts, Companies, Deals) from which you want to import data. If the Create New Worksheet is checked, it will always place the data in a new worksheet.
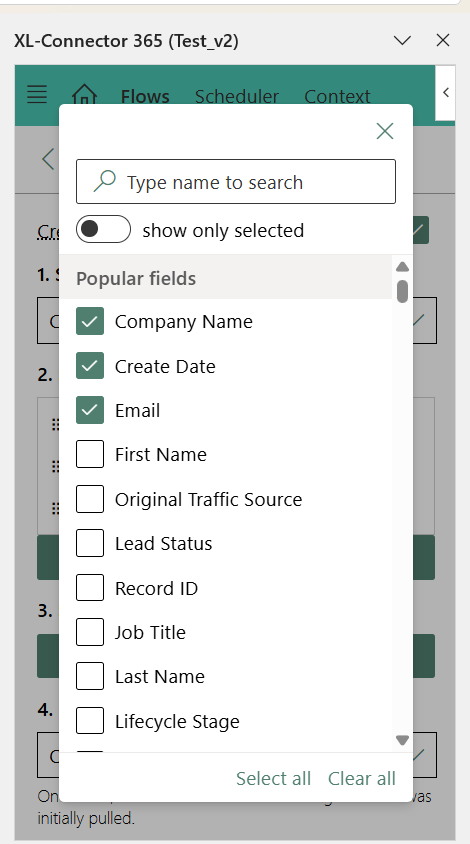
- Click “Add Fields” to view the available fields within the chosen object.
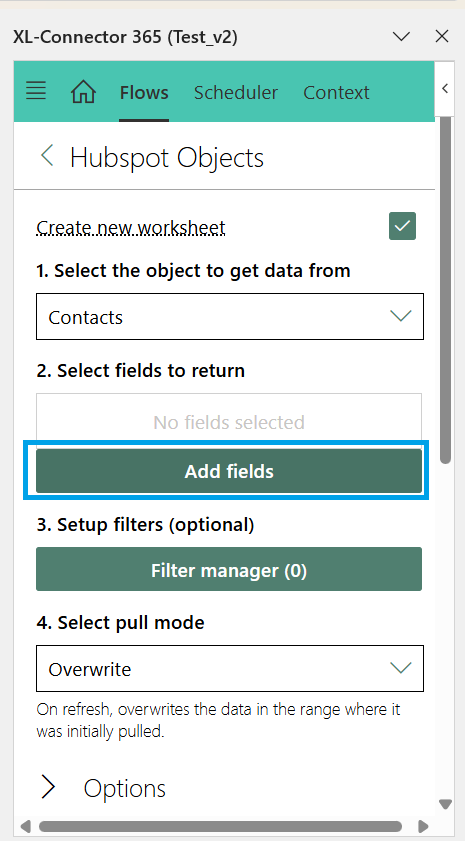
- Mark the fields you want to include in your import. You can also select or clear all fields using the option at the bottom.
- Enable Show Selected Fields to verify that all necessary fields are marked.
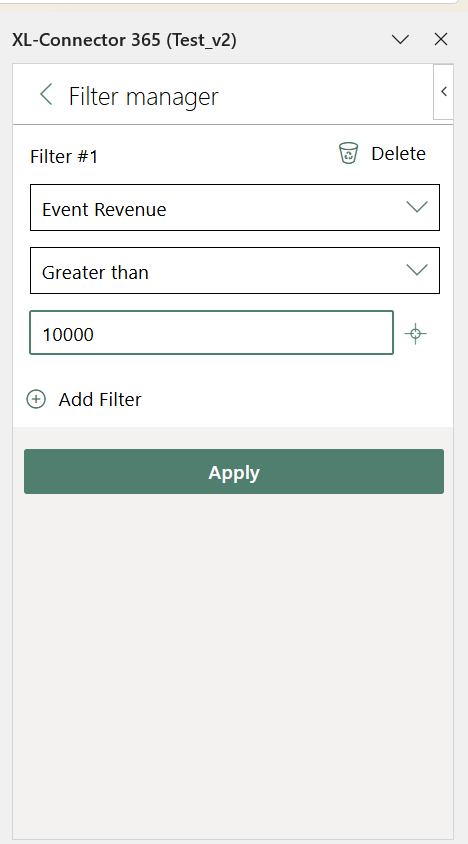
- Refine your import by applying filters.
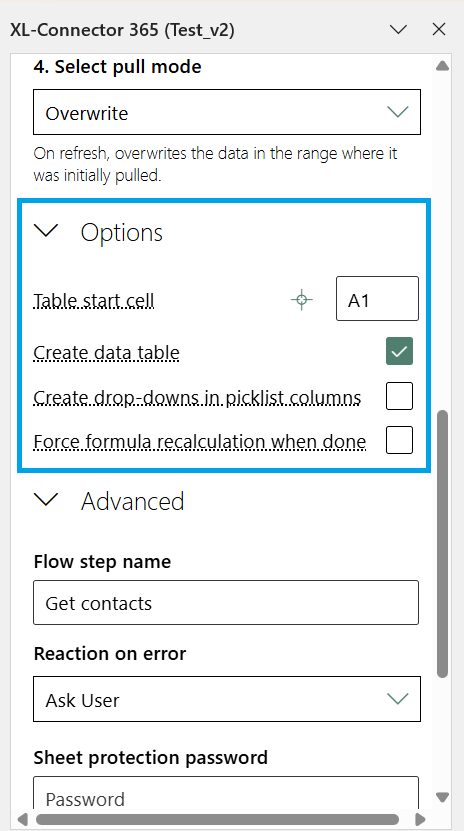
You can adjust several settings for each query:
- Table Start Cell – choose the cell in your worksheet where the query results should appear.
- Create Data Table – automatically formats the retrieved data as an Excel Data Table.
- Create drop-downs in picklist columns – if enabled, Excel will add drop-down menus for all columns that come from Salesforce picklist fields.
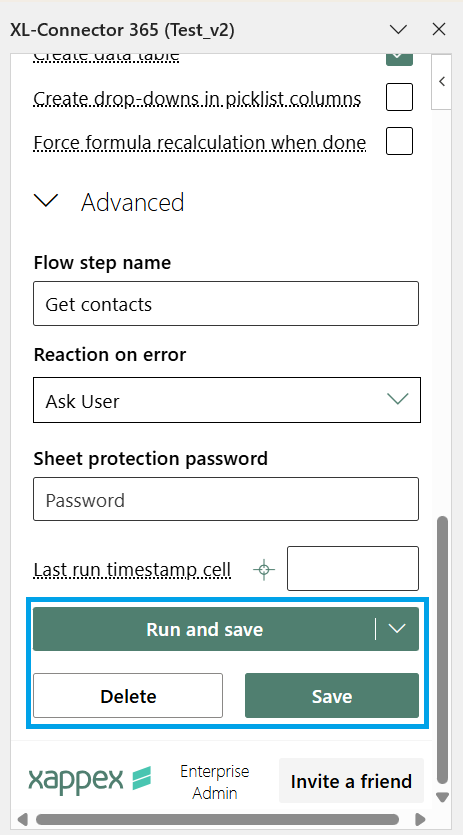
- Last run timestamp cell – records the date and time when the query was last run or refreshed in the cell you specify.
- Flow step name – defaults to “Pull Objects from,” but you can rename the step by typing a custom name.
Completing the Import
- Run and Save – pulls the data and saves the query along with all settings in the worksheet as a flow step.
- Run – pulls the data without saving the query, so you won’t be able to refresh it later.
- Save – saves the query and its settings in the worksheet without pulling the data. You can retrieve the data later by clicking Refresh on the app’s home screen.
- Delete – removes the flow step (only available when editing an existing step).