The Manage Workflow Rules feature in XL-Connector allows you to view, create, update, and delete Salesforce Workflow Rules directly from Excel.
How to Manage Workflow Rules
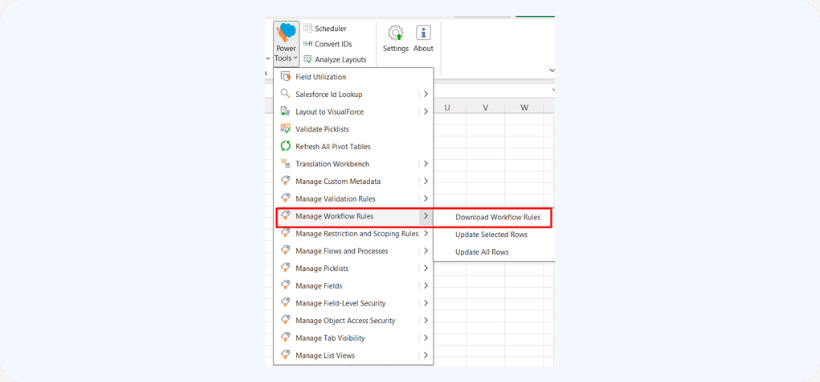
Step 1 – Download Workflow Rules
-
Go to Power Tools → Manage Workflow Rules → Download

-
The rules will populate in an Excel sheet.
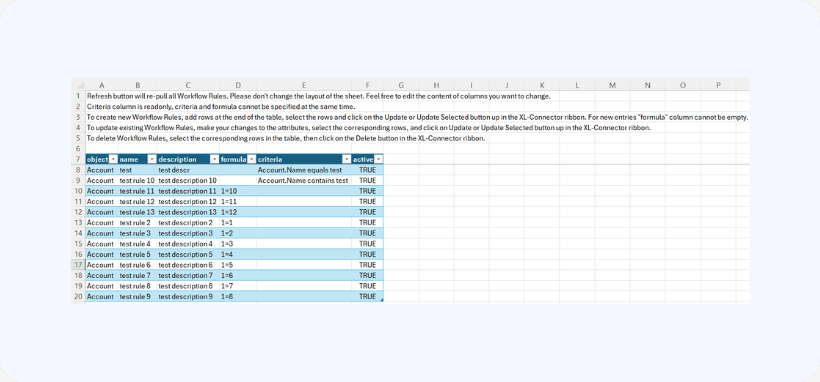
Step 2 – Review & Edit
-
Do not change the sheet layout.
-
You can edit column values as needed.
-
The Criteria column is read-only.
-
You cannot specify both Criteria and Formula at the same time.
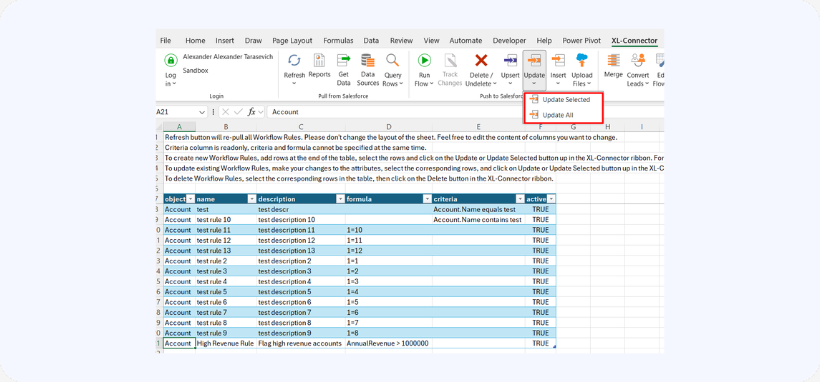
Step 3 – Create New Rules
-
Add new rows at the end of the table.
-
Fill in required fields.
-
Ensure the formula column is not empty.
-
Select the rows.
-
Click Update / Update Selected.
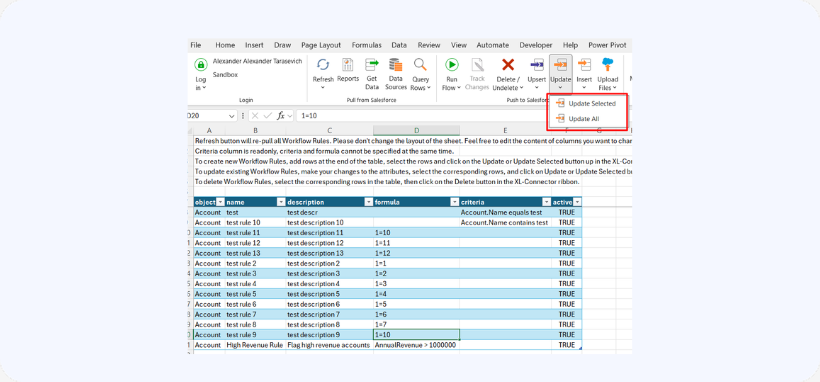
Step 4 – Update Existing Rules
-
Modify the desired fields.
-
Select the rows.
-
Click Update / Update Selected.
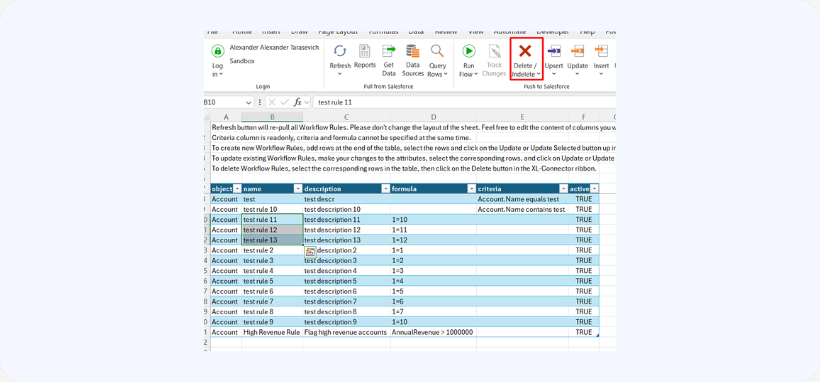
Step 5 – Delete Rules
-
Select the rows.
-
Click Delete in the ribbon.
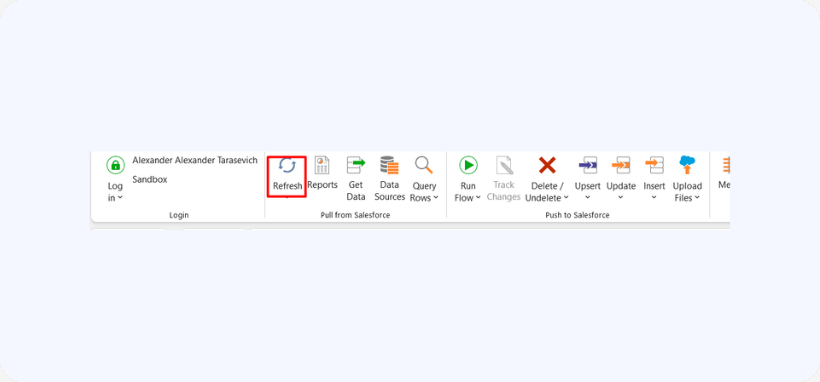
Step 6 – Refresh
-
Click Refresh to re-pull all Workflow Rules from Salesforce.
Notes
- Do not modify structure or column order.
- Only edit cell values.