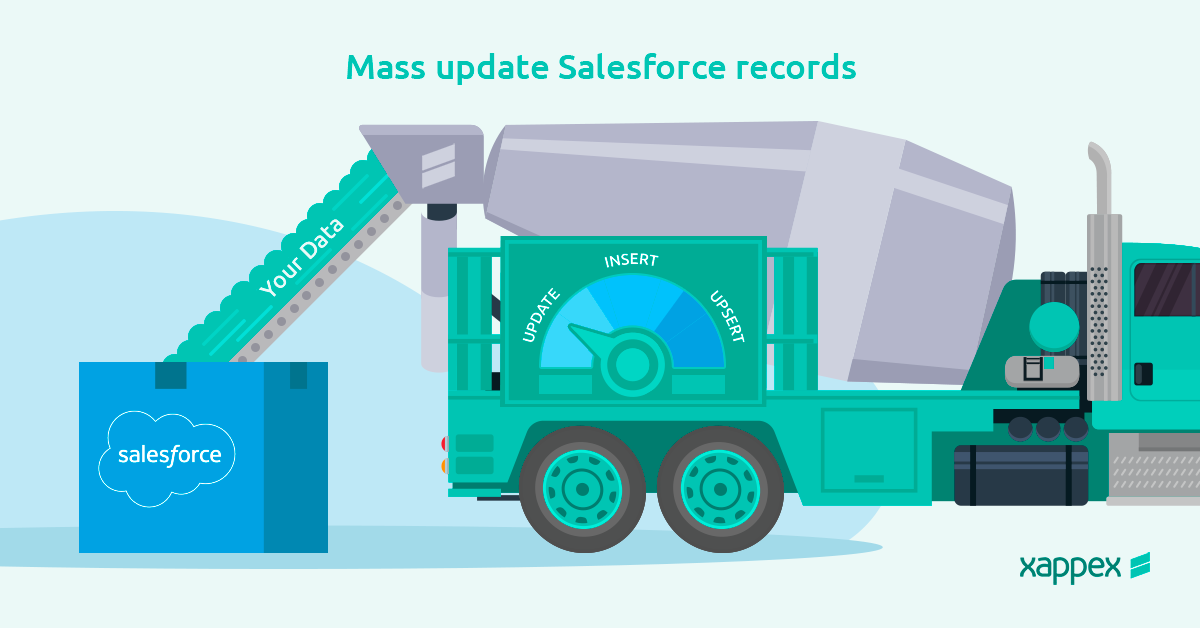
Salesforce is a great platform that covers a huge array of corporate processes and provides a great user interface to enter or modify data, but only one record at a time. If you are working with tens, hundreds, or even hundreds of thousands of records – you’ll need to learn how to mass update Salesforce records and data in bulk.
Whether you are an admin, data analyst, or a sales rep working on your data – you need the right tools. While Salesforce is undoubtedly a powerful CRM platform, which enables businesses to manage customer data, sales operations and marketing campaigns, its built-in tools are not very dynamic in terms of managing mass update of Salesforce records. In this article, we will go over the best practices for handling mass updates in Salesforce with the help of some essential tools for salesforce admin’s daily use.
When are mass updates necessary in Salesforce?
Let’s dive into some of the situations that call for these data heroics in Salesforce:
- Data Cleanup: Over time, data gets messy. You might have “John Doe” and “Jon Doh” in your records. Normally, it’s the Salesforce admin’s duty to bring order to the chaos. Correcting names, updating contact info, and standardizing data are all part of your usual tasks.
- Data Enrichment: Sometimes, you need to beef up your data. Add more information to your customer profiles, so you have a 360-degree view of your clients. It’s like giving your data a makeover.
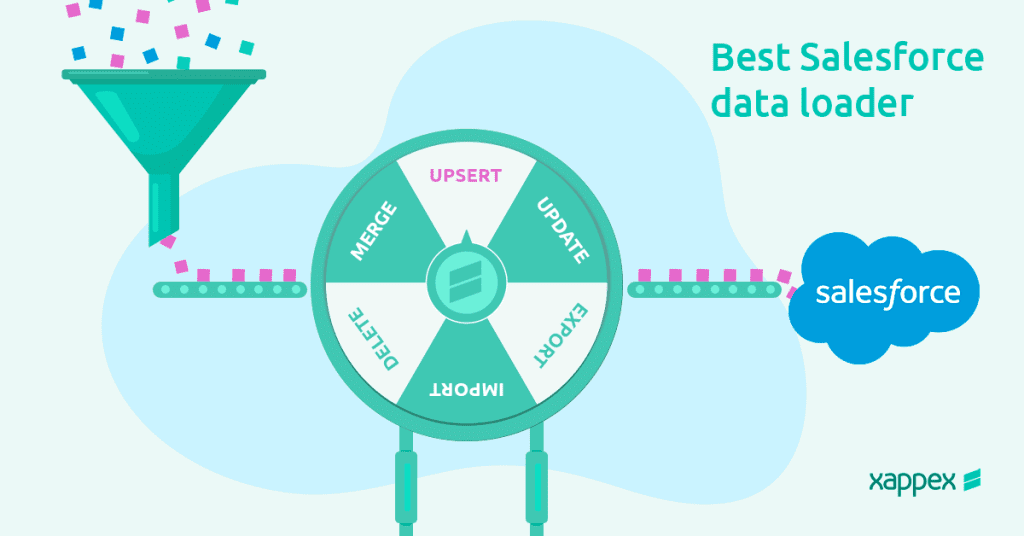
Some of the most commonly used methods for mass updating records in Salesforce
There are many tools designed for mass updates in Salesforce, but they can normally separate into two main categories:
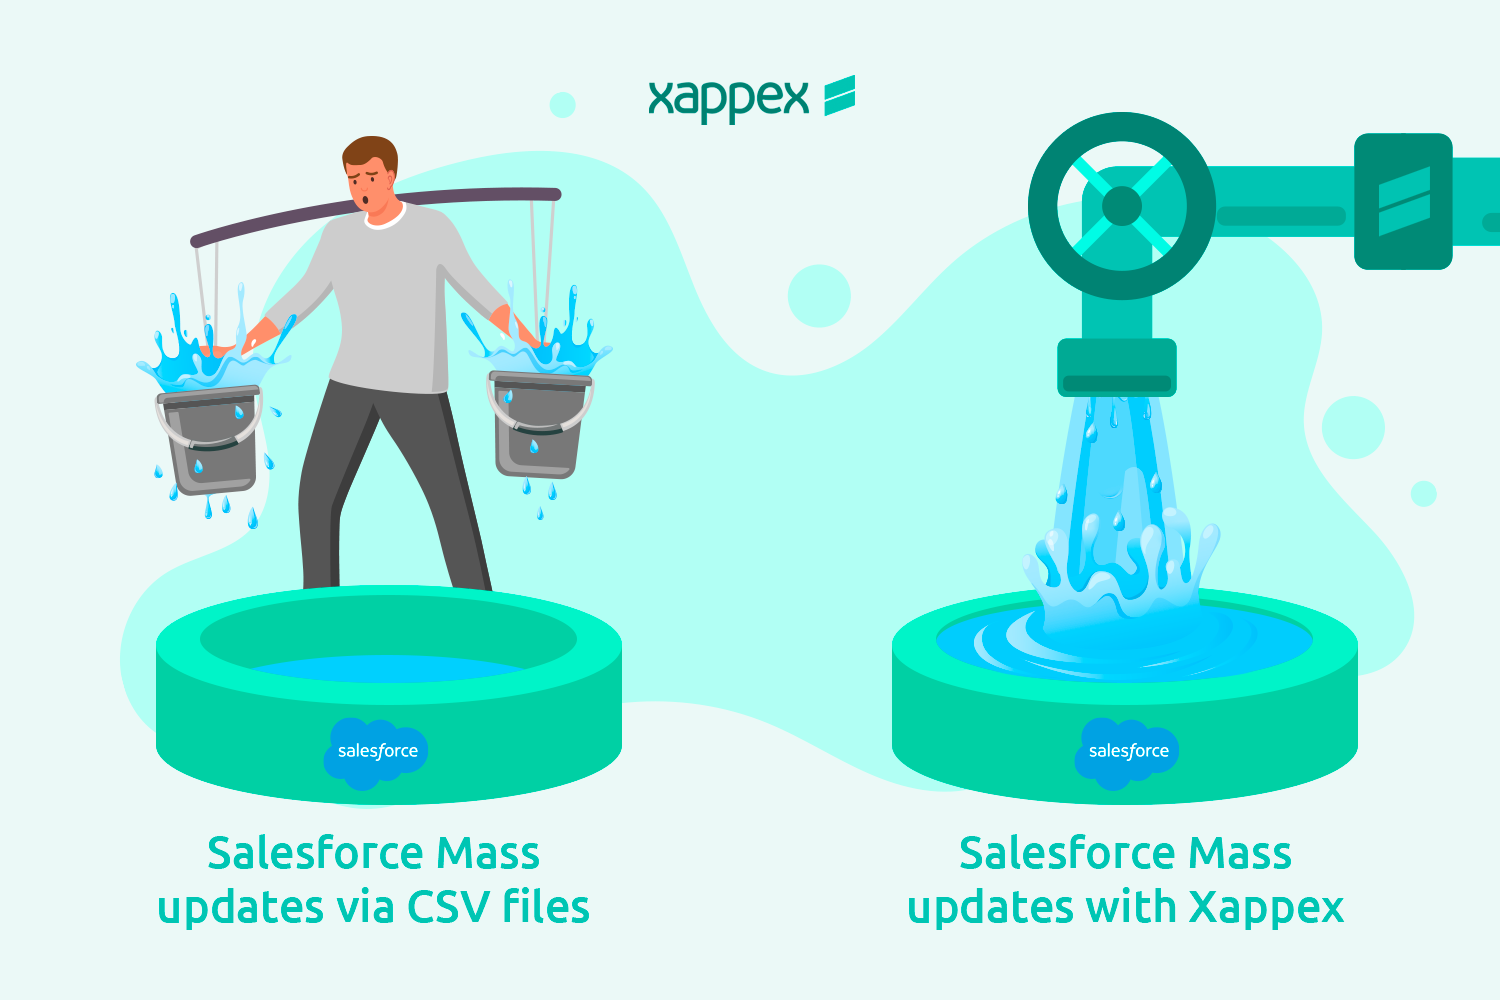
Mass update Salesforce records with CSV files:
One of the most common ways of dealing with mass record uploads to Salesforce is by using CSV files. Salesforce’s native tool for bulk import and export of data, Data Loader, is extensively used for updating large numbers of records this way. Other widely used tools for small to medium-sized updates are Dataloader.io, Data Import Wizard, Salesforce Inspector or Jitterbit Data Loader.
With all the above tools, you’ll need to prepare a separate CSV file for each object you are uploading to. The challenging part is to make sure all references between records work. That means having correct Salesforce Ids loaded into the Lookup and Master-detail fields to link the records correctly.
Other possible caveats are data types, restricted picklists, data validations, workflow rules and triggers. All of these can return an error and throw a wrench into your data load. To understand what happened, the separate Error CSV files need to be analyzed and matched against the original data, data corrected, and saved as CSV again.
Managing your Salesforce mass updates with synced Spreadsheets:
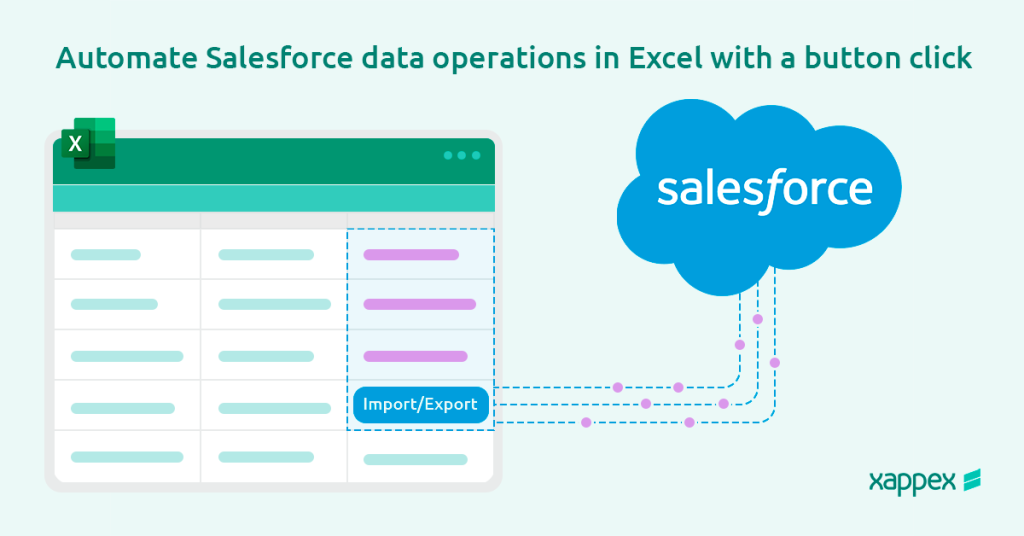
There are several tools however that skip the CSV mess entirely and are ideal for mass updates and any Salesforce data management in bulk, directly into a spreadsheet.
These are XL-Connector or XL-Connector 365 for Excel and G-Connector for Google Sheets. They are built into Excel and Google Sheets directly, which makes it possible to work with the data in a spreadsheet, and then feed it to a mass update, insert, or delete job with reusable mappings saved and accessible right in there in the same worksheet and pulled automatically for you.
Matching related records becomes a breeze since all your data tables are located in the same worksheet and can be cross-referenced using LOOKUP (VLOOKUP and XLOOKUP) formulas.
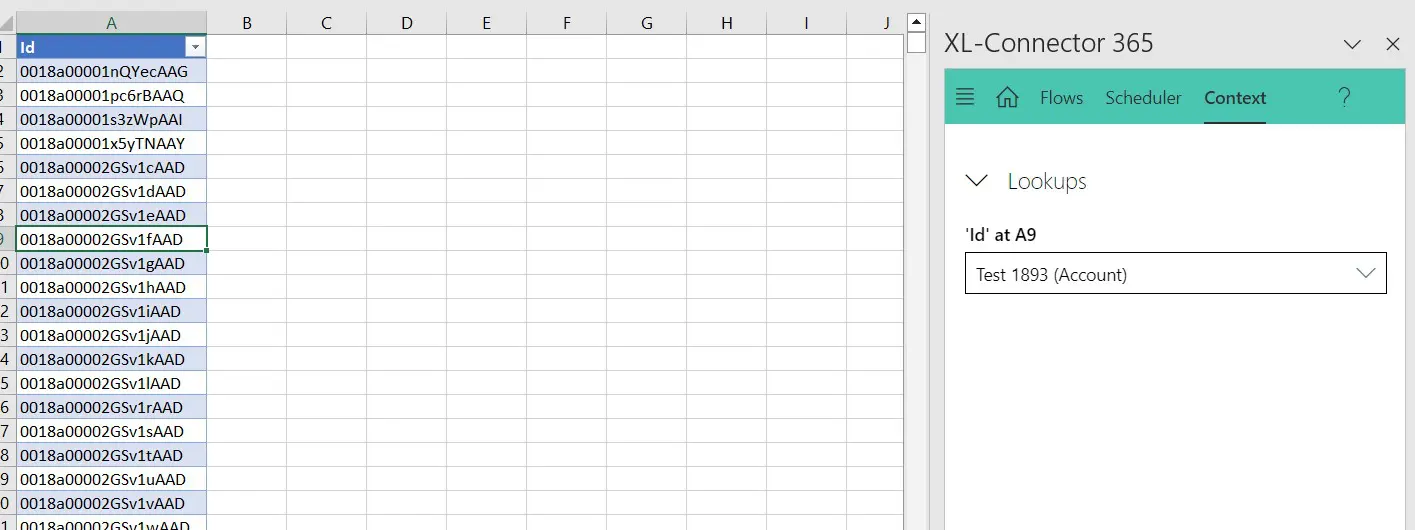
Furthermore, XL-Connector 365, for example, will dynamically look up any highlighted Id locating the correct record and showing you it’s name. You can find the needed Id in your Salesforce instance the same way.
You can also use any field with unique values in a Lookup or Master-detail field – XL-Connector will resolve the correct records for you automatically.
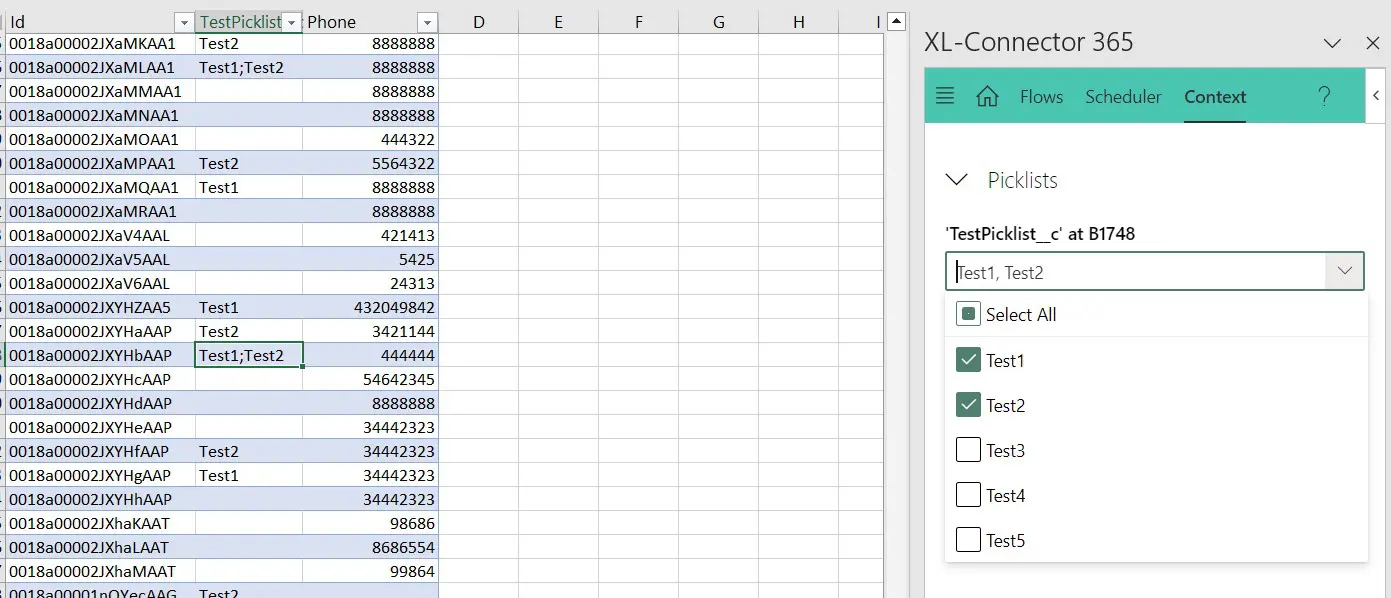
Working with different Salesforce-specific types is easier than ever with XL-Connector 365, which dramatically reduces the amount of data entry errors and eliminates hours of troubleshooting. For example, here’s how you’d deal with Multi-select Picklist fields:
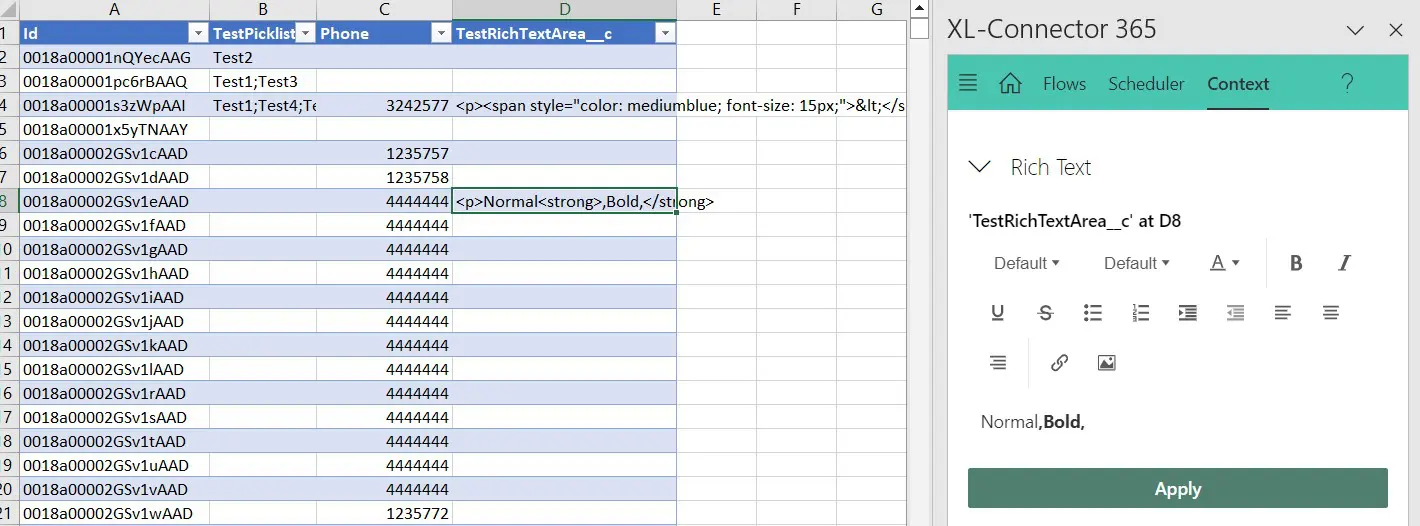
Or Rich Text fields:
How to mass update Salesforce records – step by step guide
Mass updating records or fields in Salesforce can be a breeze with the right tools. These are the steps you can follow:
-
1
Prepare your data in your Excel spreadsheet: This can be done by manually entering your data or using XL-Connector, XL-Connector 365 or G-Connector to pull your data, either by exporting a report previously built in Salesforce or building an SOQL query from the connector itself. Even though a column of record IDs is required to be able to update records via Salesforce.com API,XL-Connector, XL-Connector 365 and G-Connector have a built in feature to convert unique record names into Ids. It gets even better, to match records, you can use not only record names, but any text field on your object, a feature not available in any of the other data loading products in the market. This means that you can run your mass update operation using Account Numbers, Emails, Case Numbers, or any other unique record identifiers and not get the ‘Id is required in an update call’ error message any more. Please see the following article on details about that: Using Record Names Instead of Ids in ID and Lookup Fields.
-
2
Edit Records: In the Excel worksheet or Google spreadsheet, locate the field/fields you want to mass update. Make the necessary changes in the spreadsheet. This could involve updating, adding, or replacing data in the specific field.
-
3
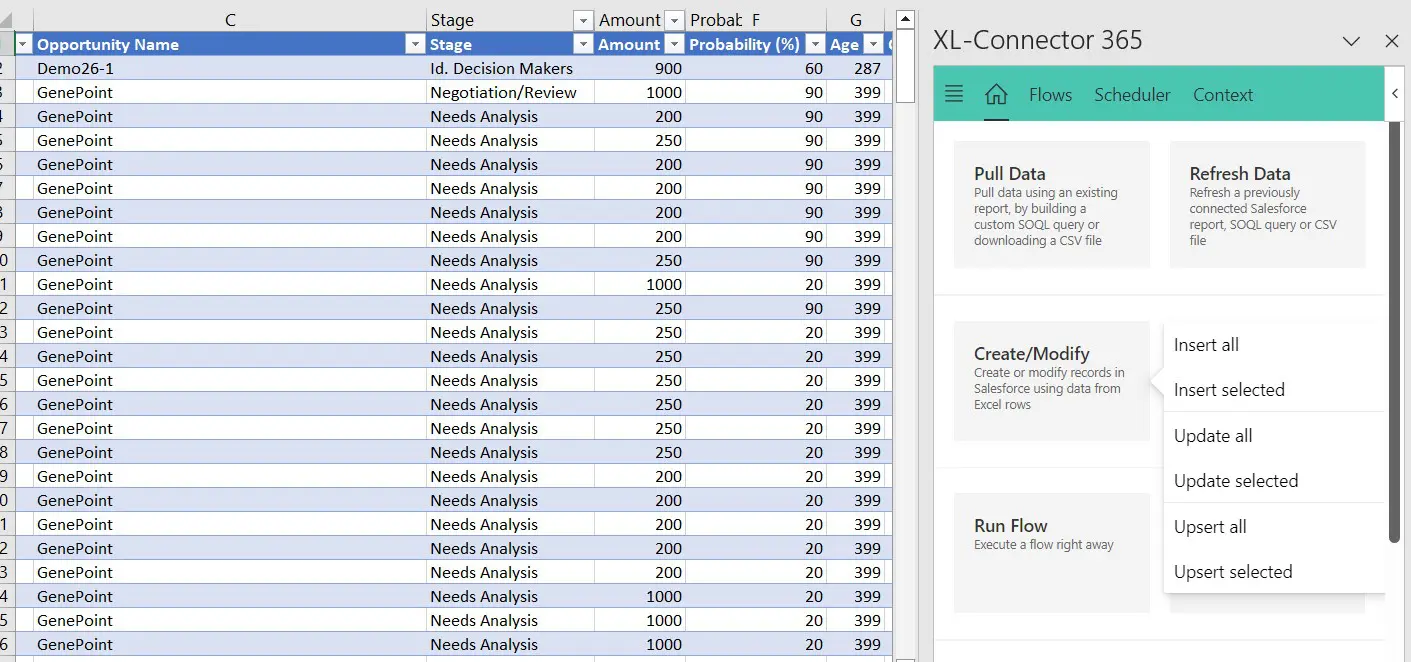
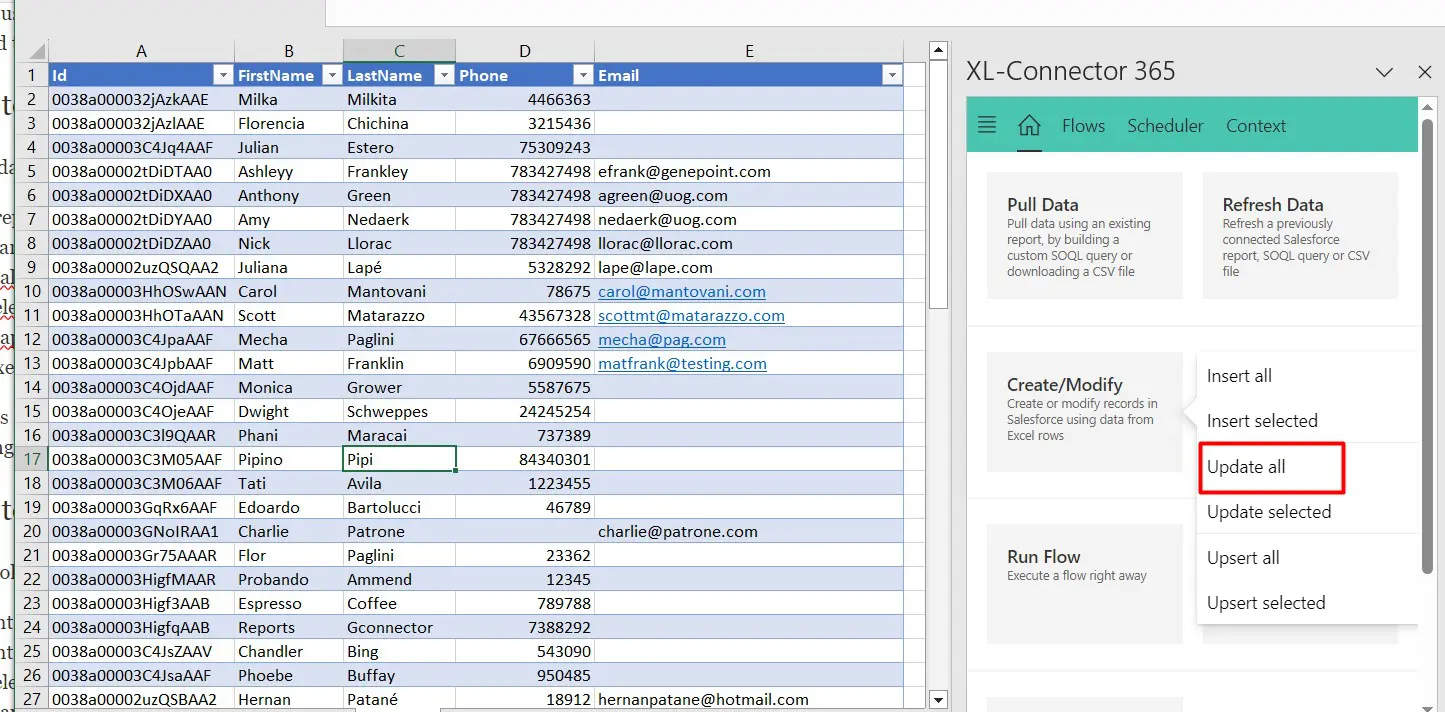
Click Update/Insert/Delete: Once you’ve made the required changes, go to the corresponding connector´s tabUI, and select the “Update” operation from the Create/Modify section or ‘Delete’ from the Delete/Restore section. You can choose to do it on all the records in your spreadsheet or selected records. (If you choose ‘Update Selected,’ the selection should span across all the records that we want to update).

-
4
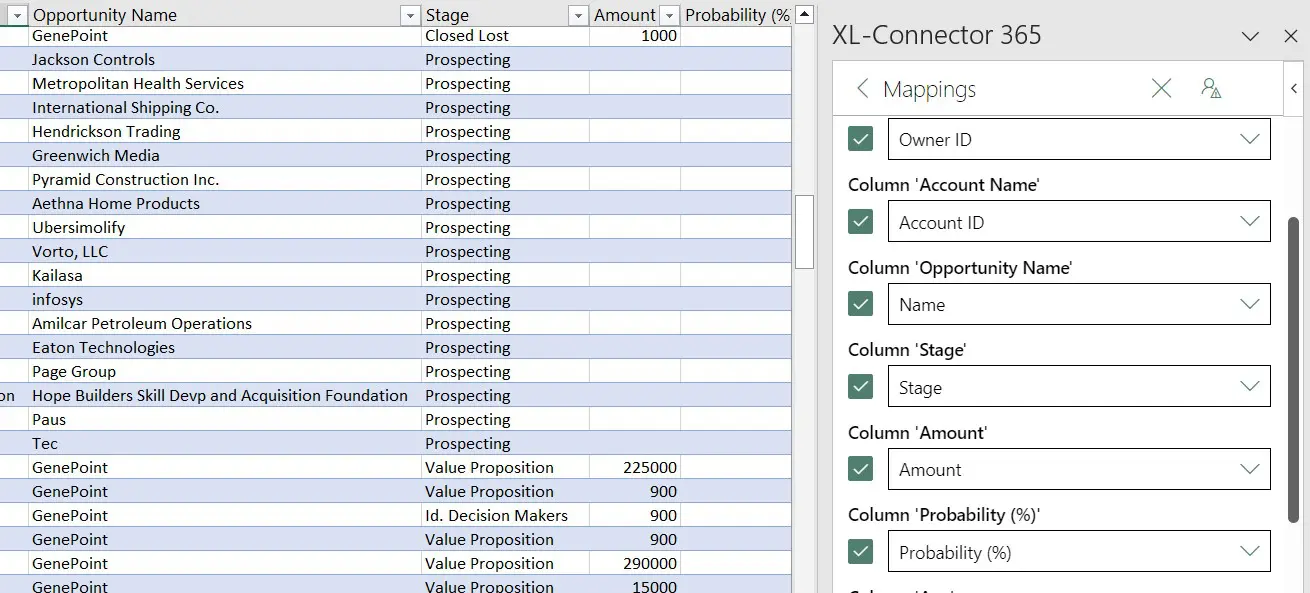
Map your sheet columns to the correct fields in Salesforce: Select the object you’re updating and map the columns to the fields. If your data was pulled through an SOQL query, the system will automatically map the columns so that you don’t have to worry about it. If you used Reports to pull your data or you entered it manually, you might need to map your columns to fields in Salesforce.com manually by selecting the correct field for the corresponding columns in the Mappings section. Once defined, the mappings and other settings will be saved as a reusable “flow step”, so that you can run the same mass update operation from this sheet with a single click
-
5
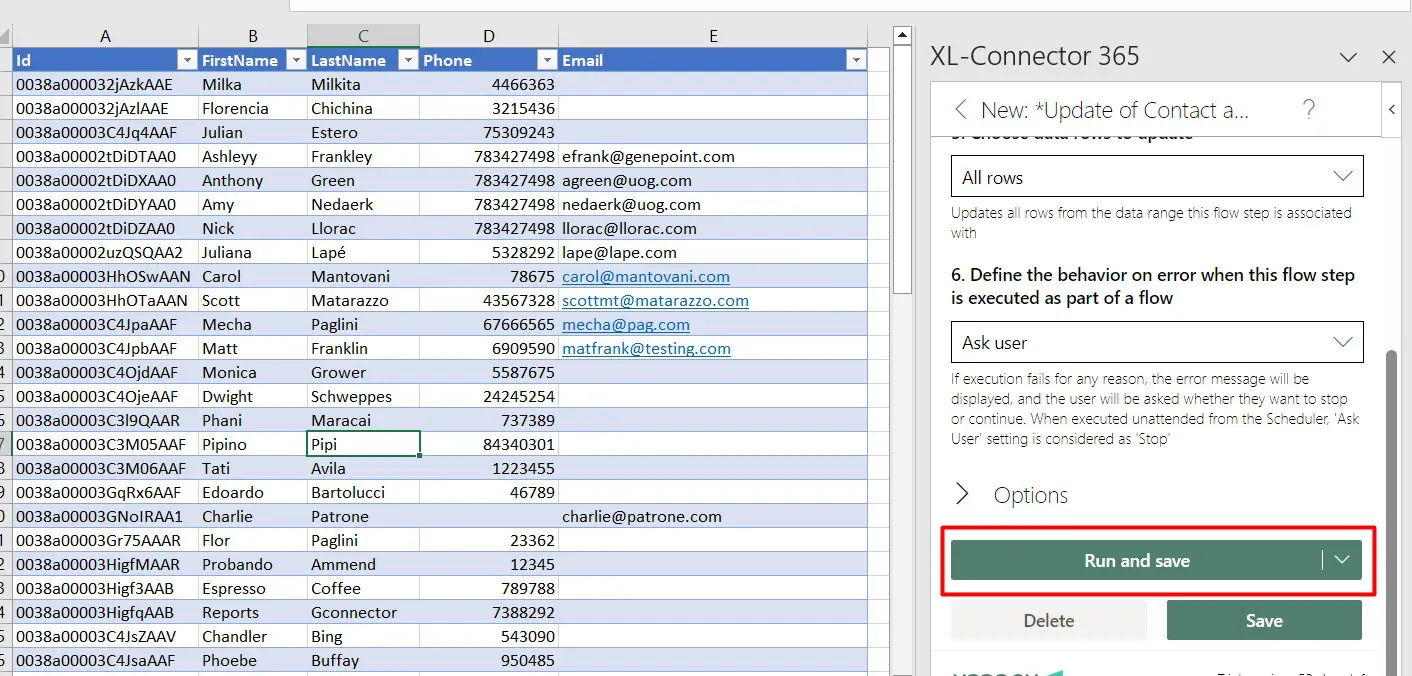
Run: Simply click the ‘Run and Save’ button and your fields will be updated almost instantly.
Xappex tools excel in providing a user-friendly, efficient, and versatile solution for mass updates in Salesforce. Their focus on simplifying complex tasks and their commitment to data security and compliance make them a top choice for Salesforce administrators looking to streamline their data management processes.
You’ve just learned about the fantastic process of updating fields, but how does it work for the most common objects? These steps can be followed to update fields in any standard or custom object! Let’s break it down.
How to mass update Contacts in Salesforce?
Updating Contacts is super simple:
-
1
Prepare the Contact details you will be working with on your sheet. (Pull those details with Xappex’s connectors or enter them manually)
-
2
Make the changes you need and select the records you’d like to update.
-
3
Select the Update operation.
-
4
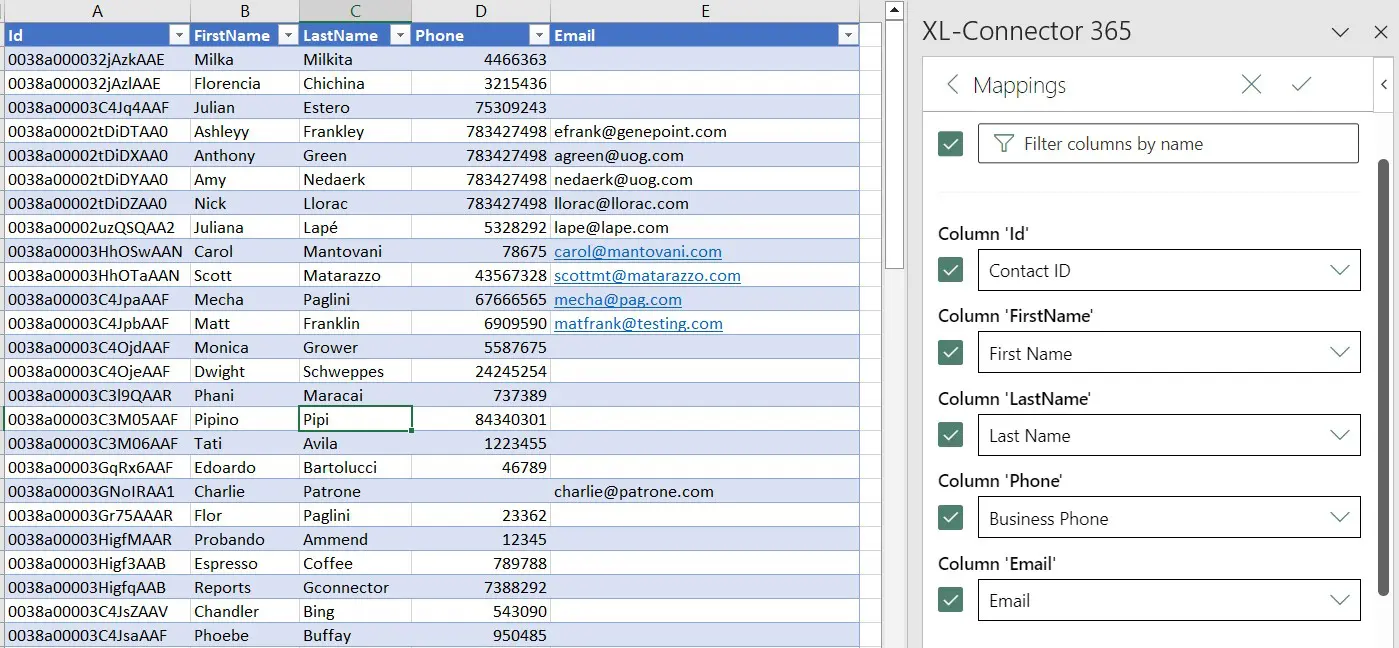
Map the columns in your spreadsheet to the fields in Salesforce.
-
5
Execute the operation.
Contacts are the lifeblood of any CRM system. In order to update fields in Salesforce Contacts, follow the steps outlined. Maybe you’re adjusting contact details, changing their status, or recording their latest interaction. It’s a breeze!
How to mass update Leads in Salesforce?
Let’s look at how to tackle mass updates on the Lead object:
- Enter the Lead details you will need in your spreadsheet..
- Enter the new information in the corresponding cells and select the records you will be updating.
- Select the Update operation.
- Map your fields.
- Run the Update operation.
Leads are potential gold mines, and keeping them up to date is crucial. Whether it’s updating lead source, or any other details, that is how it’s done.
It’s worth mentioning that XL-Connector and XL-Connector 365 provide a tool for mass converting Leads directly from an Excel spreadsheet. You can read these articles to find out more about it:
https://www.xappex.com/knowledge-base/converting-leads-2/
https://www.xappex.com/knowledge-base/mass-converting-leads-in-salesforce/
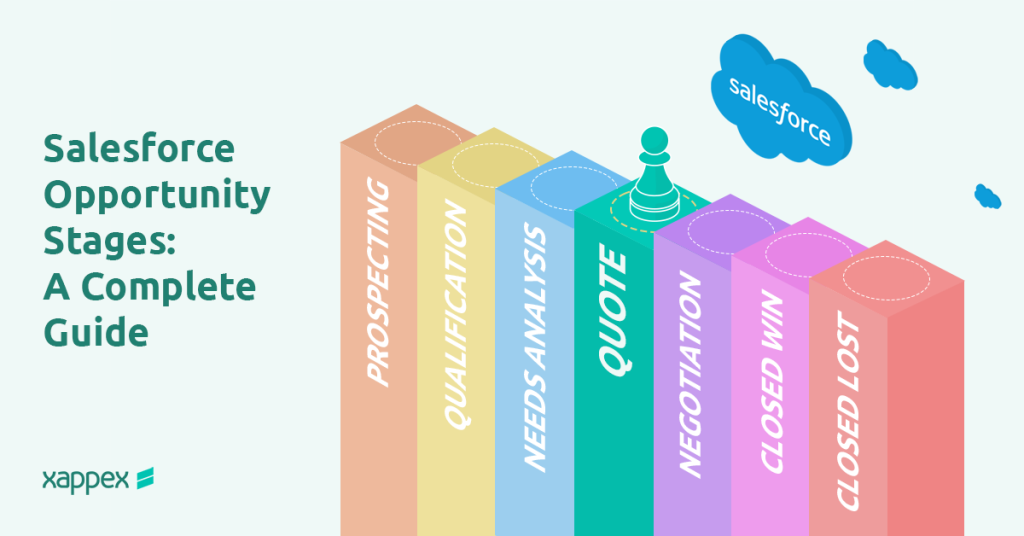
How to mass update Opportunities in Salesforce?
Updating your Opportunity records is as straightforward as with all other objects:
- Arrange the Opportunity information on your spreadsheet
- Change the details to update and select the rows of the records you will push.
- In the any of the Xappex connector’s tab, select ‘Update.’
- Prepare your mappings so that your columns match the correct Salesforce fields.
- Click the button to execute your mass update.
Your sales pipeline thrives on updated Opportunities. Follow the same outlined procedure to swiftly mass update Opportunity stage or modify fields, like expected revenue, or even assigning new team members. Sales have never been so dynamic.
How to mass update Cases in Salesforce?
To mass update Cases just follow these steps:
- Enter your Cases’ data in the spreadsheet.
- Change the information you need to modify and choose which rows you’re going to update.
- Click the Update button.
- Map the Salesforce fields to your data columns.
- Run the Update operation.
When it comes to Cases, you need to keep them current. Updating fields, such as priority, status, or assignment, ensures your customer queries are addressed effectively. Stay on top of your service game with these simple steps.
How to mass update Tasks/Activities in Salesforce?
The steps to mass updating Tasks are exactly the same as for any of the previously described objects:
- Ensure all the fields you need for the operation are on your spreadsheet.
- Make the changes to the details you’ll be modifying and select the rows you’re going to push.
- Select Update from the connector’s pane.
- Map your columns to your Salesforce fields.
- Push your data by running the Update operation.
Whether you’re juggling countless to-dos, scheduling follow-ups, or coordinating crucial activities, the capacity to mass update tasks can be groundbreaking. With Xappex’s connectors the process is as smooth as silk, saving you time and effort. Simply locate the column that corresponds to the task field you wish to modify. It could be the due date, status, priority, or any other crucial task attribute that needs your attention. Now, select the “Update,” “Insert” or “Delete” operation. Choose the “Tasks and Events” object in Salesforce, as that’s where your tasks reside, map your fields and update. Just like that your changes take place!
How to mass update picklist values in Salesforce?
To run an update of your picklist values you just need to follow this steps:
- In your spreadsheet, prepare the record’s data with its picklists values.
- Modify the values in the picklist column as required.(This can be very simple if you’ve pulled your data with XL-Connector or G-Connector, since they provide the possibility to create drop-downs for picklist columns). If it’s a multi-select picklist, XL-Connector and XL-Connector 365 provide special tools for editing them without having to remember to separate the items in the list with semicolumns.
- Click Update from the connector’s options.
- Use the Mappings section to map the fields in Salesforce to the corresponding columns in the spreadsheet.
- Perform the Update.
One of the most exhilarating tasks an admin can undertake is the management of picklist values. These values define the choices available within your Salesforce records and play a crucial role in data integrity.
And here’s an extra nugget of information: XL-Connector for Windows also simplifies the management of picklist values in its Admin Tools’ section. You can modify and add new picklist entries or delete any picklist completely. The possibility to manage picklists efficiently from within your spreadsheet will be a game-changer!
How to mass update Account, Opportunity or Contact Owners in Salesforce?
Updating these fields is no different from tweaking any other field in your Salesforce records with any of the Xappex connectors:
- Prepare the data in the spreadsheet.
- Locate the column that corresponds to the Account, Opportunity or Contact Owner field and make the changes you need.
- Click Update.
- Map the spreadsheet columns to the Salesforce fields as required.
- Run the operation as described before.
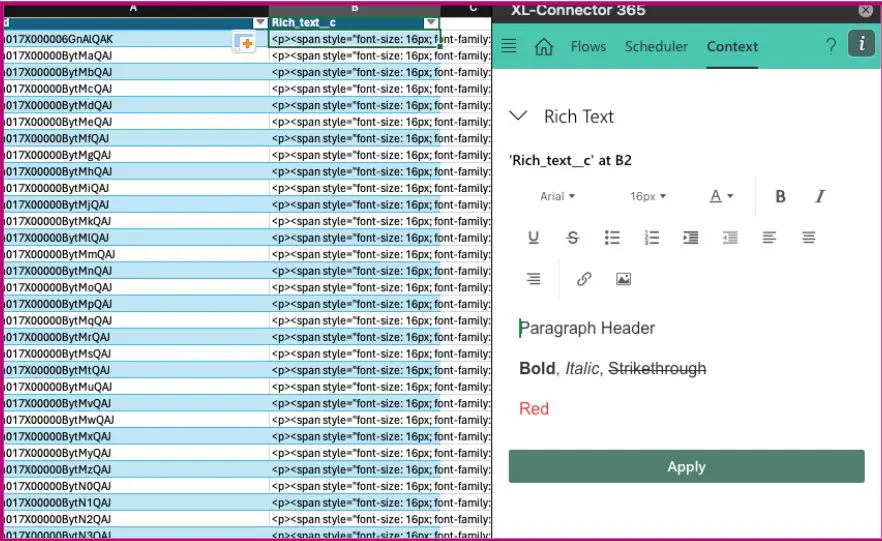
How to mass update Rich Text fields in Salesforce?
Rich Text fields present quite a challenge to mass update because the data stored in them is in HTML format. When the data is pulled from Salesforce for these fields, it looks like jibberish to most of the users. What if you need to update this data in hundreds of records? Even if you’re fluent in HTML – it will take forever to write preserving the markup.
Luckily, XL-Connector 365 has a solution for that: the Context tab will render any html in an Excel cell to a readable format and let you edit it, saving the results back to the sell as HTML so that you could update it in Salesforce:
How to mass update List Views in Salesforce?
List views are a valuable feature in Salesforce, offering a dynamic way to organize and display records. However, what truly makes them invaluable is the ability to not only view but also update the data within them.
With XL-Connector, users have the power to seamlessly refresh and update data within these list views. As this connector offers the possibility to run dynamic queries, you may have a dynamic account / contact / etc. name as the header, and just below it, a list of records associated with it. You’ll be able to edit the data, and push it back to Salesforce, and even change the original value to retrieve a different list, and follow the same steps. As simple as that!
This means you can take control of your list views like never before, dynamically adjusting and updating data without the need for complex workarounds. XL-Connector empowers Salesforce users to work smarter, not harder, making data management and updates within list views a seamless and efficient process.
What makes Xappex tools the best for mass updates in Salesforce?
The upload happens directly from the worksheet, and the errors get returned to the same worksheet, right next to the rows where the data was taken from.This makes error troubleshooting a lot quicker and easier as noticing an error, fixing the data in that row, and uploading it again merely takes seconds of your time.
Filters are respected, so only what is visible on the sheet will get uploaded.
Mass data loading templates can be built and shared with non-admin users, who’ll only need to enter the data and click one button to upload many records.
What typically consumes hours of effort magically transforms into mere seconds!
Enhance your Salesforce Mass updates with Xappex
With XL-Connector, XL-Connector 365 or G-Connector, updating, inserting or deleting accounts, leads, opportunities or any other field in Salesforce is a piece of cake. It’s a straightforward process that puts you in the driver’s seat of your data, no matter what you’re modifying. So, whether you’re wielding your admin powers to update account owners or any other field, you’ve got the magic wand in your hands. Salesforce updates are officially simpler than ever.
If you would like to know more about this tools and get a 14-day free trial period with all the functionality, visit this product’s profile in AppExchange, where you can also read all the amazing reviews from current users.

Florencia Mouriz
Florencia Mouriz is a professional with over two years of experience at Xappex, where she has performed as a Technical Support Agent and Coordinator, and Technical Writer. In this role, Florencia provides support to customers while creating educational content and tutorials that guide users through the implementation of Xappex tools with Salesforce. Her contributions seek to enhance customer understanding and optimize the use of these tools.
Before joining Xappex, Florencia gained valuable experience participating in diverse projects for other companies, where she worked as a Salesforce Administrator and implemented Vlocity solutions. She has an extensive background in Salesforce ecosystems and is determined to deliver impactful results for our company.
Based in Tandil, Bs As, Argentina
To learn more about Florencia’s experience and connect with her, visit her LinkedIn profile