-
1
Unique hardware id of the computer it was first activated from.
-
2
Your Salesforce account email address.
This makes the license flexible to be used as follows:
-
1
To log in to any Salesforce account as long as it’s done from the registered computer (only applies to the installable Windows version of XL-Connector, not XL-Connector 365).
-
2
To be used on any computer hardware as long as the user logs in to the Salesforce account where email address matches the one registered on the license.
Transferring a license to a different PC Hardware
The computer hardware and Salesforce account associated with your license can be changed at any time as follows:
-
1
Log in to your customer portal (https://portal.xappex.com) account.

-
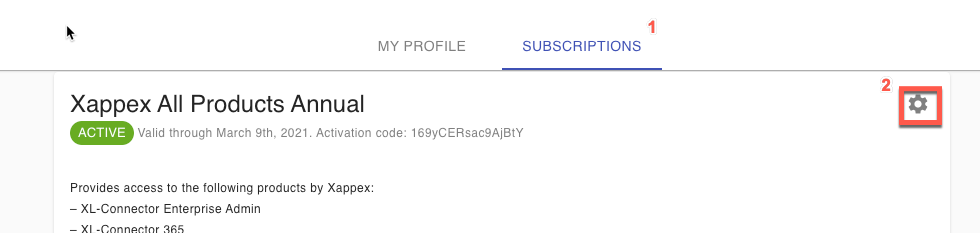
2
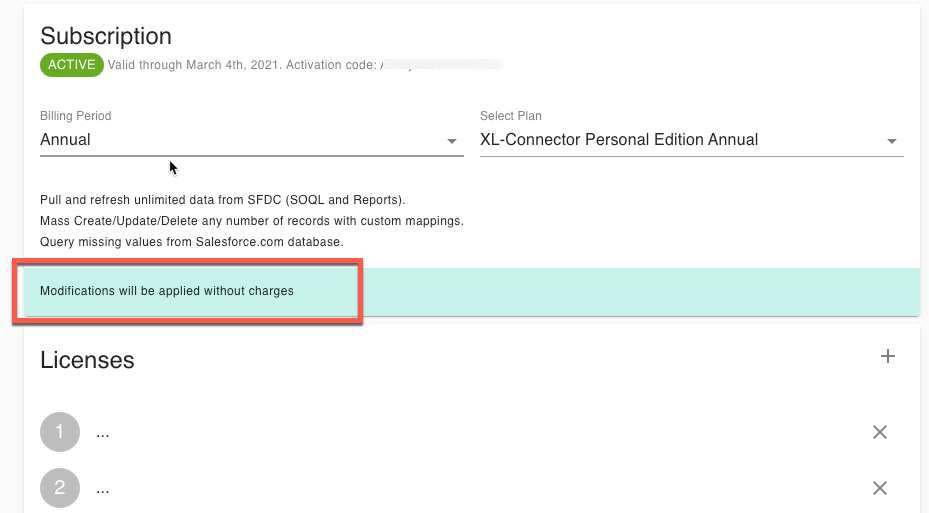
Click on the Subscriptions tab and then on the gear icon next to the corresponding subscription to modify it:
-
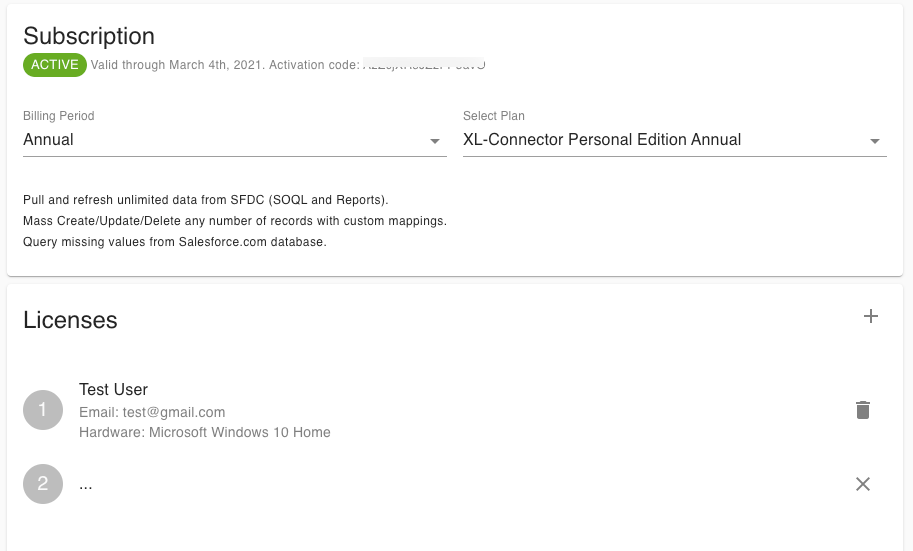
3
From this screen, you’ll be able to edit your subscription plan as well as the user(s) associated with it:

-
4
To completely disassociate a license slot from the user’s Salesforce account email and hardware id, do the following:

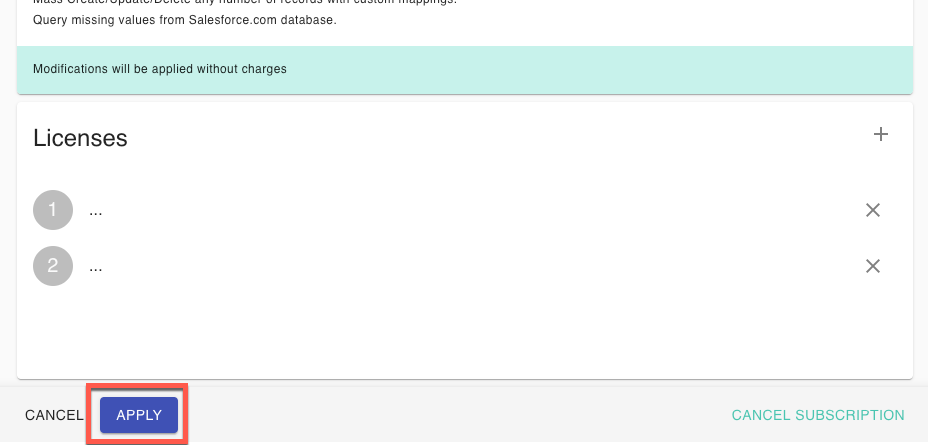
A) IMPORTANT:Click on the license you want to transfer and clear the Name, Email, and Hardware information in it.
B) You’ll see the slot is empty and license changes are pending:
C) Click on Apply:
D) Now that the license slot is clear, any user with the corresponding activation code can activate their copy of XL-Connector as follows:
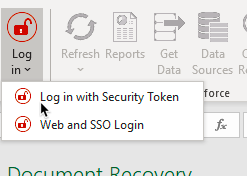
E) In XL-Connector, log in to Salesforce
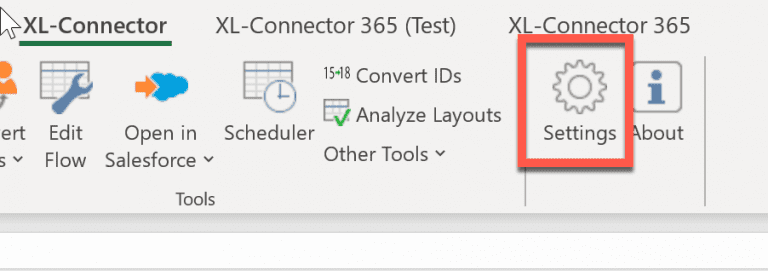
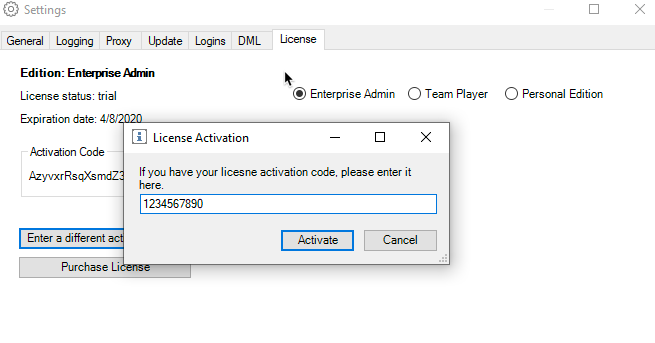
F) Click on Settings:
G) Then go to the License tab and click on ‘Enter a different activation code’:
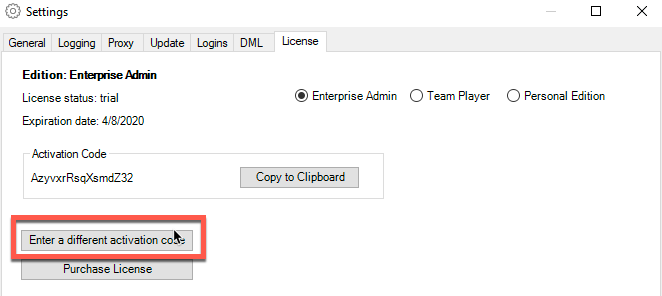
H) Enter the subscription activation code (available in the portal):
Transferring a license to a different Salesforce email account
Starting from XL-Connector version 3.3.3.3, it will automatically activate a license if the email address of the Salesforce account you log in to matches the email address on one of your license slots in the customer portal.
Here’s how you can assign emails to licenses using the portal:
-
1
Log in to your customer portal (https://portal.xappex.com) account.
-
2
Click on the Subscriptions tab and then on the gear icon next to the corresponding subscription to modify it:
-
3
From this screen, you’ll be able to edit your subscription plan as well as the user(s) associated with it:
-
4
To change the Salesforce account email address associated with any of the available license slots, click on a slot, replace the email address in it, then click on Save, and then Apply.