XL-Connector 365 not only streamlines data imports and exports directly from Excel, it provides a way to group and automate them using what we call XL-Connector Flows.
How XL-Connector Flows work
XL-Connector flows should not be confused with Salesforce flows. The only common part is that both allow you to automate certain actions.
A flow in XL-Connector 365 is simply a folder for storing of data related to a data import or export (a Flow Step).
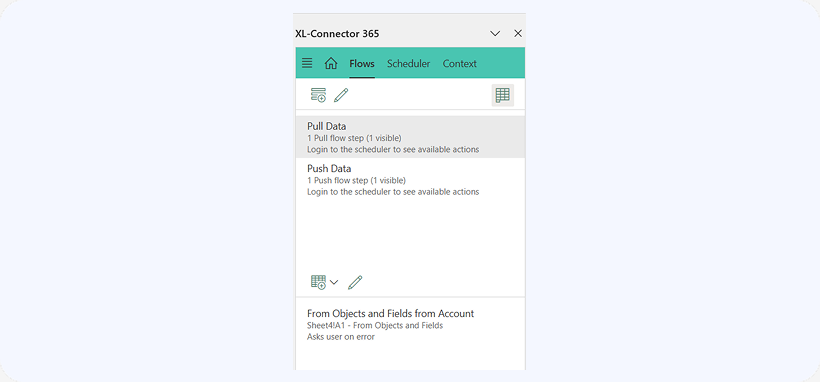
By default, XL-Connector 365 provides 2 built-in flows: Pull Data and Push Data.
Any report or SOQL query import operation that is run from the Home page is stored as a flow step in the Pull Data flow, while any export operation (mass Insert, Update, Upsert, Delete, Convert Leads, Merge, etc.) is saved as a flow step in the Push Data flow:
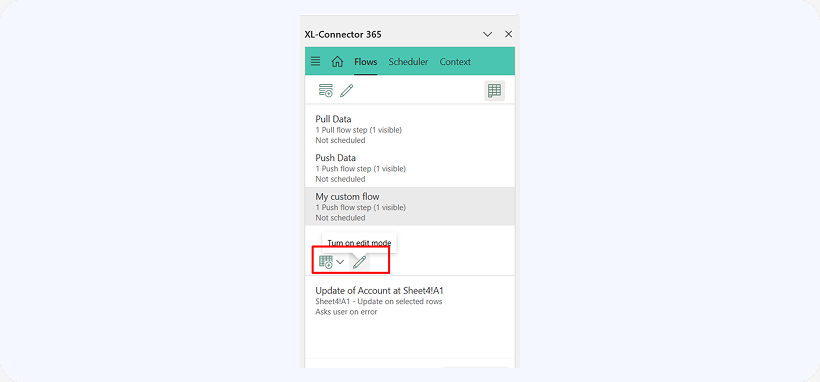
When you select a flow in the top part of the screen, the bottom part of the screen will display all flow steps that are saved in that flow. By default, only the flow steps that exist on the active sheet are shown. If you need to see all flow steps in a flow, toggle the following button:

Creating Custom Flows
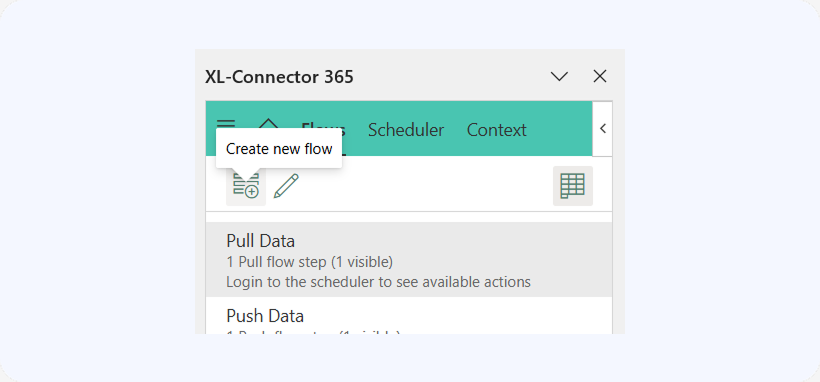
It is possible to create a custom flow that will combine multiple Push and Pull flow steps for execution in a predefined order. To do that, click on the Add Flow button:
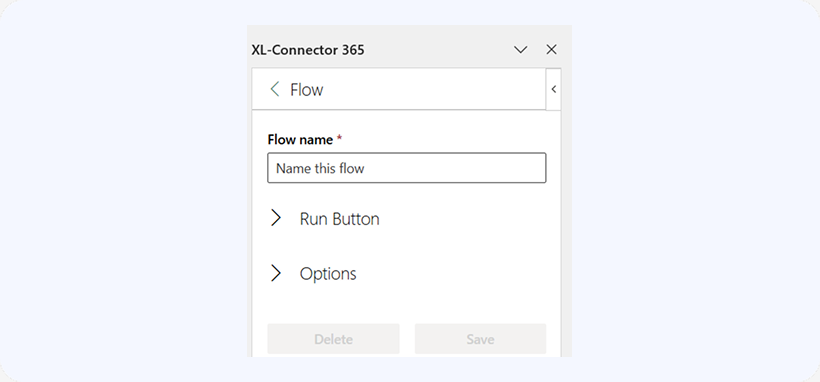
You can set a cell in your spreadsheet where the last time of running of that flow will be written, as well as specify whether to recalculate all formulas in the workbook before proceeding to the execution of the next flow step. This may be required if you, for example, want to import some data from Salesforce, do calculations in Excel, and then export the calculated data back to Salesforce.
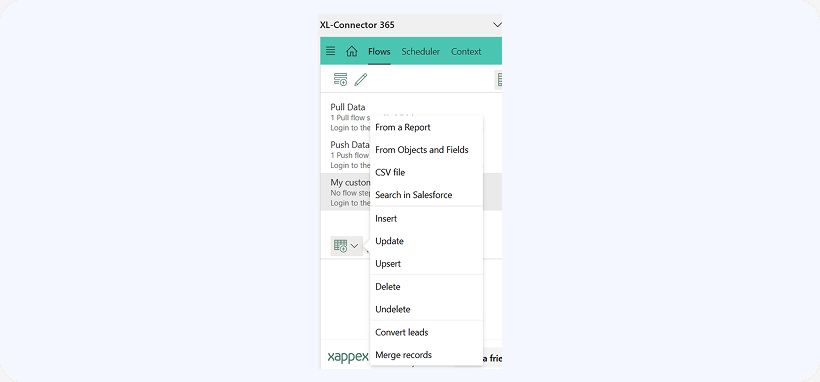
To create a new flow step in a custom flow, select that flow and click on the Create New Flow Step button:
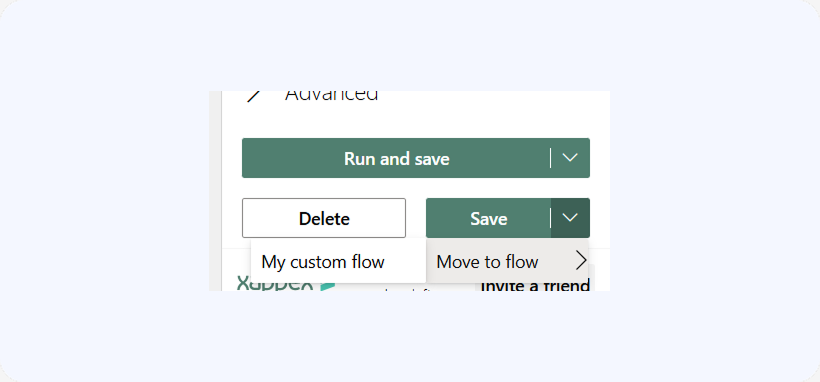
If you already have a flow step created and just want to move it to your custom flow, there’s an option for that inside of the specific flow step, under the Save button. To access this option:
-
1
Click into the flow step that you want to move
-
2
Scroll down to where Run and Save and Save buttons are.
-
3
Click the drop-down next to the Save button.
-
4
Select Move to flow
-
5
Select the flow you want to move your flow step to:

Executing Flows and Flow Steps
In XL-Connector 365, you can execute any flow either manually by clicking a button in the UI or automatically on a schedule. When executed automatically, the workbook needs to be saved in Sharepoint and does not have to be open in Excel at the time of execution.
Executing Flows Automatically
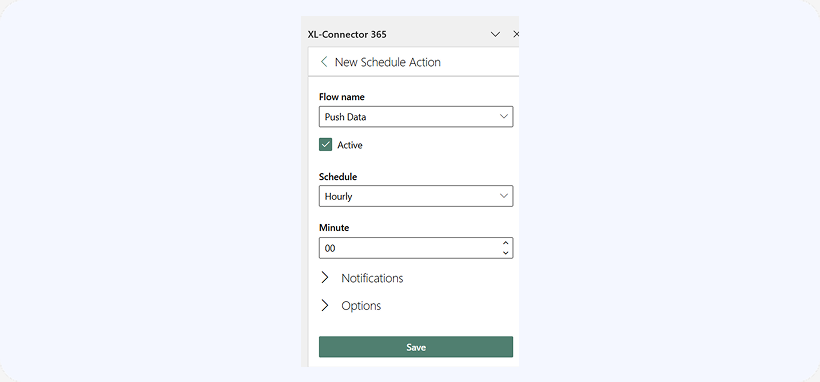
There are two ways to set up any flow for automatic execution: from the Scheduler tab of the app and inside of each Flow settings. Both ways do the same thing and either one can be used:
You can also manually run all flows in your entire workbook, only flow steps that are part of a specific flow, or separate flow steps.
-
1
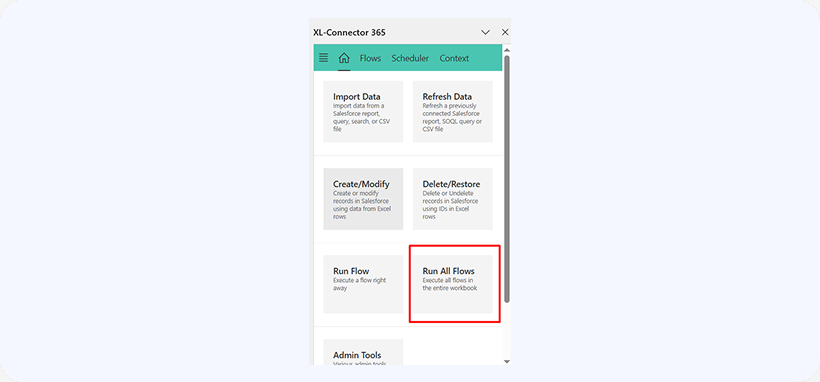
To execute all flow steps in all flows of the current workbook, click on Run All Flows button on the Home page:
-
2
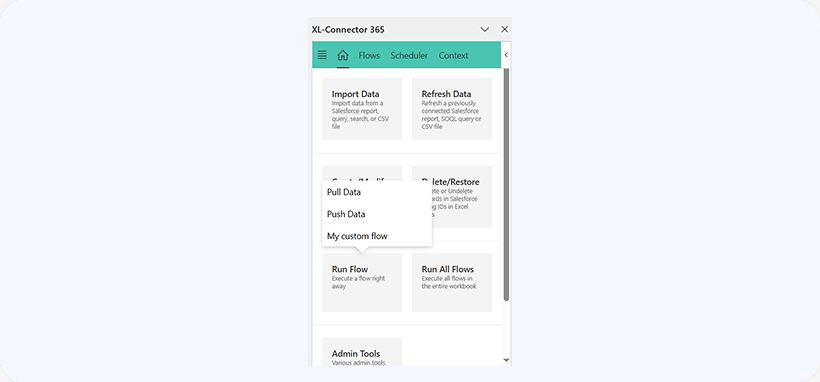
To execute all flow steps in a specific flow from the Home page, click on Run Flow, then select the flow you’d like to run:
-
3
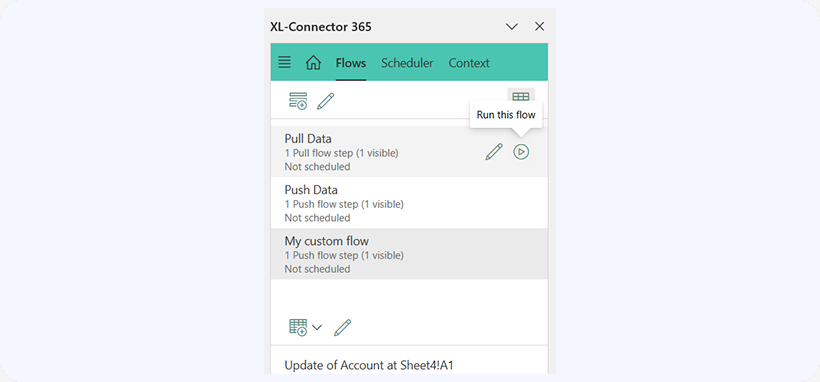
Alternatively, you can go to the Flows tab and run a specific flow from there by clicking on the Run this flow button:
-
4
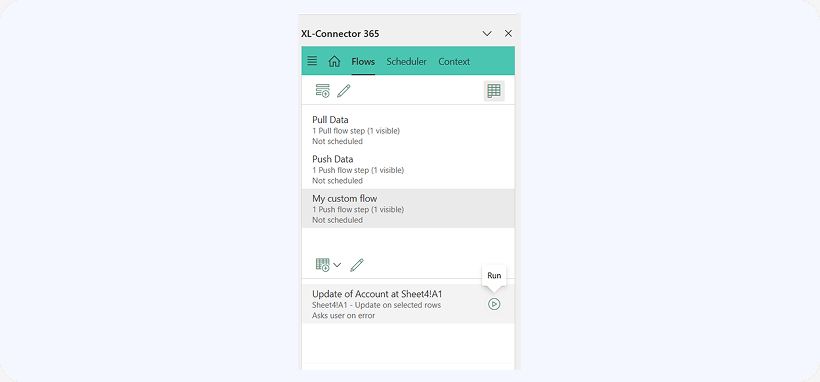
To execute a specific flow step. Select the flow where the flow step is located, and then press on the Run button that appears on the flow step you want to run:
Defining the Order of Execution for Multiple Flow Steps
If you have a flow with multiple steps and they need to be executed in a certain order, you can set that order as follows:
-
1
Select the flow where the flow steps are located.
-
2
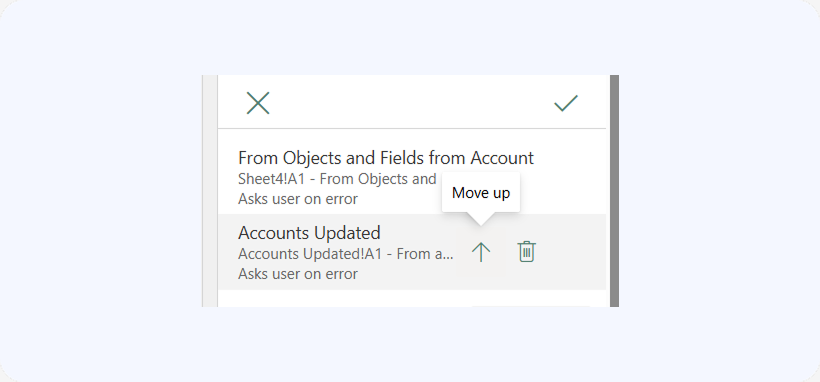
Click on the Edit button above the list of flow steps:
-
3
Adjust the order of execution of flow steps using the up or down arrow buttons: